
Escape Academy 2: Back 2 School — Tower Puzzle Guide
Solve Escape Academy 2: Back 2 School's tower with the rope, gears, moon codes, seasonal sun-box settings and final bell sequence explained step by step.
Quick answer
Use CAMEL for the constellation, LUNAR for the clock chest and ECLIPSE for the lift. On the sun box, set sunrise east at middle length, noon north at shortest length, afternoon north-west at longest length, and sunset west at middle length. Take the Lens, decode the reversed clock, pull A, C, A, E, D, G, A, then ring the lowered bell.
Find the mechanism blocking you
That Rings a Bell uses separate locks and linked items. The table identifies the documented answers without treating any one code as a universal input. If you are still outside rooftop access, use the rooftop guide first.
| Object or obstacle | Documented action or answer |
|---|---|
| Colored rope padlock | Match star point counts to lock colors |
| Rope constellation | CAMEL |
| Gear directional lock | Right → down → up → left → right → down |
| Movable shape model | Square → hexagon → circle → triangle → pentagon, left to right |
| Five-clock chest | LUNAR |
| Moon-phase lift lock | ECLIPSE |
| Sun box | Match each seasonal scene and time label using the table below |
| Final sandbags | A → C → A → E → D → G → A |
The documented mechanisms come from GameSpew and Insider Gaming. TheGamer also describes the final controls. The sun-box table below covers the Lens step before the final clock.
Release the rope and solve CAMEL
Start with the multicolored padlock beside the rope wheel. Count the points on the hanging stars and match those counts to the padlock colors. Insider Gaming's example gives blue 4, purple 7, red 6, yellow 5 and green 8. Keep those color labels when entering the counts. Star-lock solution.
After releasing the rope, inspect the four printed symbols. Thread the rope through matching handles in the indicated order, then look through the telescope. Compare the pattern with the animal illustrations: it matches CAMEL. Rope and constellation method.
Enter CAMEL on the wall lock, pull the accessible lever, and climb the released ladder. Both GameSpew and Insider Gaming document this transition.
Align the gears and obtain the shears
Collect the small, medium and large gears. Place them in the wall mechanism and rotate them until the arrow lines connect. At the directional lock, enter right → down → up → left → right → down to open the next ladder route. Gear solution.
Climb the ladder and inspect the telescope's overlapping shapes. On the movable model, set the left-to-right order to square → hexagon → circle → triangle → pentagon. Collect the shears afterward. Model arrangement and reward.
GameSpew describes pentagon → triangle → circle → hexagon → square applied right to left. That produces the same arrangement as the left-to-right list above. Retain the viewing direction rather than reversing the model a second time. GameSpew's viewing instructions.
Open the clock chest with LUNAR
Climb the boxes and platforms above the chest to obtain the Cipher Table. Return to the five-clock lock and translate the clock faces using that table. The documented readings are:
| Clock reading | Letter |
|---|---|
| 9:30 | L |
| 12:45 | U |
| 6:45 | N |
| 3:00 | A |
| 9:15 | R |
Enter LUNAR and collect the Moonlight. The table location, chest answer and reward are corroborated by GameSpew and Insider Gaming.
Reveal ECLIPSE and stop the pendulum
Use the Moonlight near the purple moon symbols to reveal letters. Read them from new moon to full moon to form ECLIPSE. Enter ECLIPSE at the lift lock and pull the lever to travel upward. Moonlight and lift sequence.
Take the shears with you and cut the pendulum rope. Return down in the lift, then climb the ladder on the stopped pendulum. This sequence is documented by GameSpew and Insider Gaming.
Set the seasonal sun box and collect the Lens
Climb the stopped pendulum ladder to the four-sided sun box. Identify each face by its time-of-day label and seasonal scenery. Set both the sun's direction and its arm length to match the table:
| Face label | Seasonal scene | Sun direction on that face | Adjustable arm length |
|---|---|---|---|
| SUNRISE | Spring | East, horizontally toward E | Middle |
| NOON | Winter | North, straight up | Shortest |
| AFTERNOON | Summer | North-west, diagonally up toward W | Longest |
| SUNSET | Fall | West, horizontally toward W | Middle |
Use the W and E markings printed on each face; these directions describe the panel, not your character's compass bearing. Shortest, middle and longest refer to the adjustable arm positions, avoiding ambiguous counts of decorative circles. TheGamer's clocktower guide supplies the full seasonal direction-and-height table.
The launch-period recording at 1:27:10–1:27:54 shows seasonal clues, including a winter wall clock with its sun close to the center and pointing upward. An afternoon box face is visible with its sun pointing north-west at a long arm setting. The box subsequently opens and the players collect the Lens. These observations corroborate selected clues and the successful outcome, not every final face setting or a particular adjustment-control mapping.
When the box opens, collect the Lens. If it stays closed, compare both direction and arm length on each face with the table, especially the shortest winter/noon setting and longest summer/afternoon setting. Matching only the direction leaves the arm-length part of the configuration unchecked. Seasonal settings.
Why do some guides describe this differently?
Insider Gaming uses start/end-of-day wording that does not clearly match the box's E/W labels. The recorded conversation also contains guesses before the successful outcome. The table here follows TheGamer's explicit seasonal table and the labeled box faces; earlier guesses are not presented as final solutions.
Once you have the Lens, decode the final clock
These steps resume only after obtaining the Lens:
- Use the Lens on the Roman-numeral clock face.
- Read the clue 9795639.
- Account for the reversed clock when identifying the numerals and letters.
- Pull the sandbags in order: A → C → A → E → D → G → A.
- After the success cue and lowered bell, activate the large bell's rope.
The mapping is 9 → A, 7 → C, 5 → E, 6 → D and 3 → G. A wrong sandbag input produces a light buzzer; success produces a musical cue before the final bell interaction. See TheGamer's control explanation and Insider Gaming's number-to-letter solution.
Tower questions
Why is the lift still locked after LUNAR?
LUNAR opens the chest and gives you Moonlight. Use it to reveal the moon-phase letters, then enter ECLIPSE at the lift. These are separate locks in the documented route.
Does ACAEDGA complete the room by itself?
No: after the successful musical input lowers the bell, activate its rope. TheGamer documents that final interaction.
Scope
This source-backed guide covers the documented English-interface introductory tower route, including the sun box and Lens. TheGamer supplies the full seasonal table; footage corroborates selected clues and success, not every final face or the adjustment controls. No exact patch-build number is visible, and this is not a firsthand gameplay test or proof that future versions remain unchanged.
Sources and verification
- Escape Academy 2: Back 2 School · store.steampowered.com · Checked 2026-11-06
- Escape Academy 2: Back 2 School · www.gamespew.com · Checked 2026-11-06
- Escape Academy 2: Back 2 School · insider-gaming.com · Checked 2026-11-06
- Escape Academy 2: Back 2 School · www.youtube.com · Checked 2026-11-06
- Escape Academy 2: Back 2 School · www.thegamer.com · Checked 2026-11-06
- Escape Academy 2: Back 2 School · www.youtube.com · Checked 2026-11-06
Continue reading
All guides →
Home
Find Escape Academy 2: Back 2 School opening guides, focused puzzle answers, demo version notes, platform information and co-op help in one place.
Read guide
Campaign Guide
Follow Escape Academy 2: Back 2 School through the classroom and orientation, then find focused book, rooftop and tower help without later spoilers.
Read guide
Demo Route
Use Escape Academy 2: Back 2 School demo footage carefully: follow documented opening checkpoints and understand the October update's version limits.
Read guide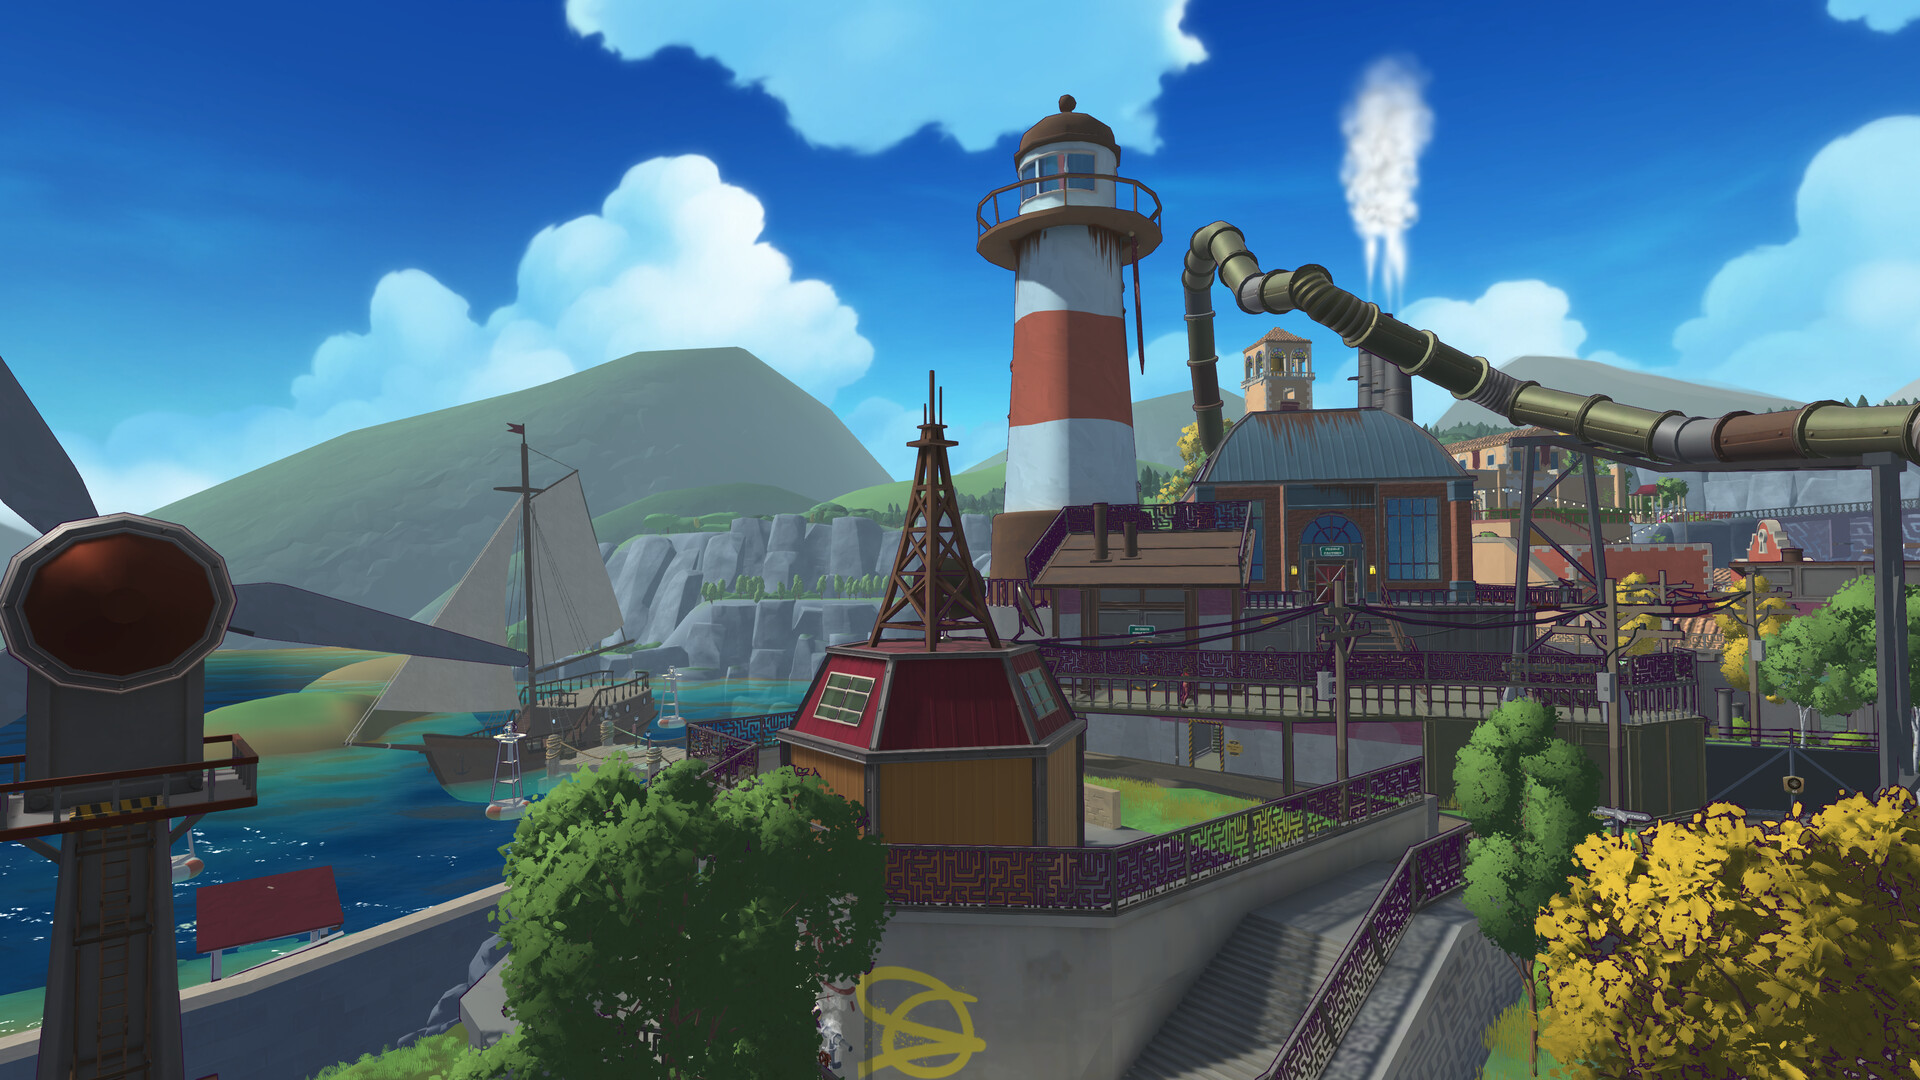
Opening Rooftop
Open Escape Academy 2: Back 2 School's rooftop door with STAY AWAY, understand the stairwell clues and continue toward the That Rings a Bell challenge.
Read guide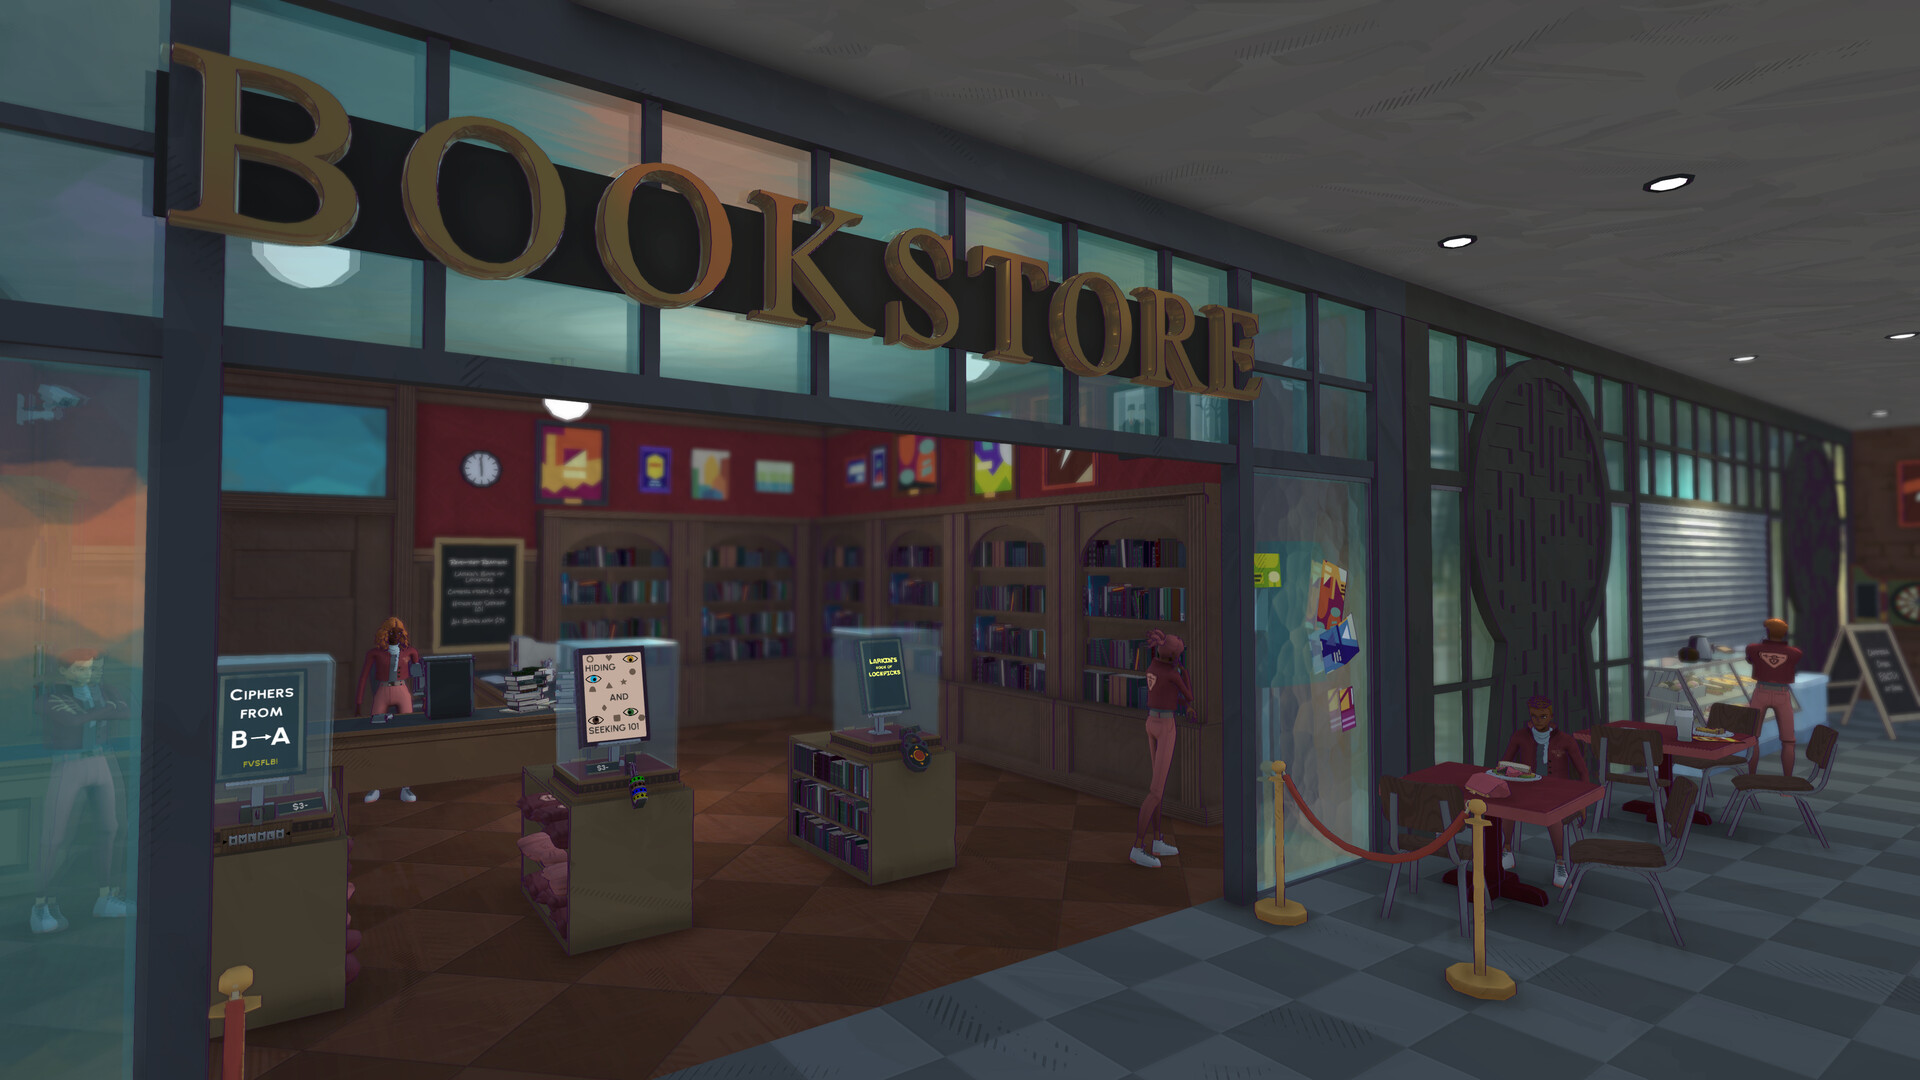
Book Puzzle
Solve Escape Academy 2: Back 2 School's bookstore locks with the EUREKA cipher, eye-color shapes and lockpick arrows, then buy and collect the books.
Read guide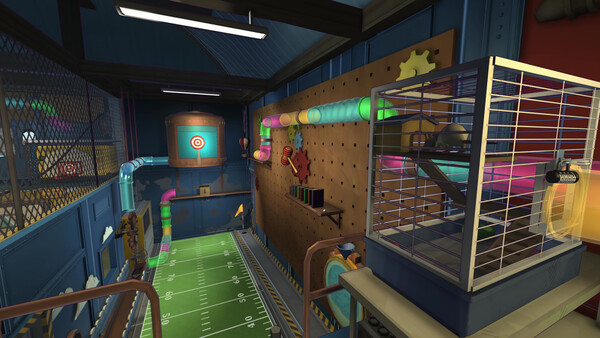
Bird Puzzle
Complete Escape Academy 2: Back 2 School's Nugget task with animal tiles, heat-lamp codes, jazz and the Clue Jay worm-box solution explained by part.
Read guide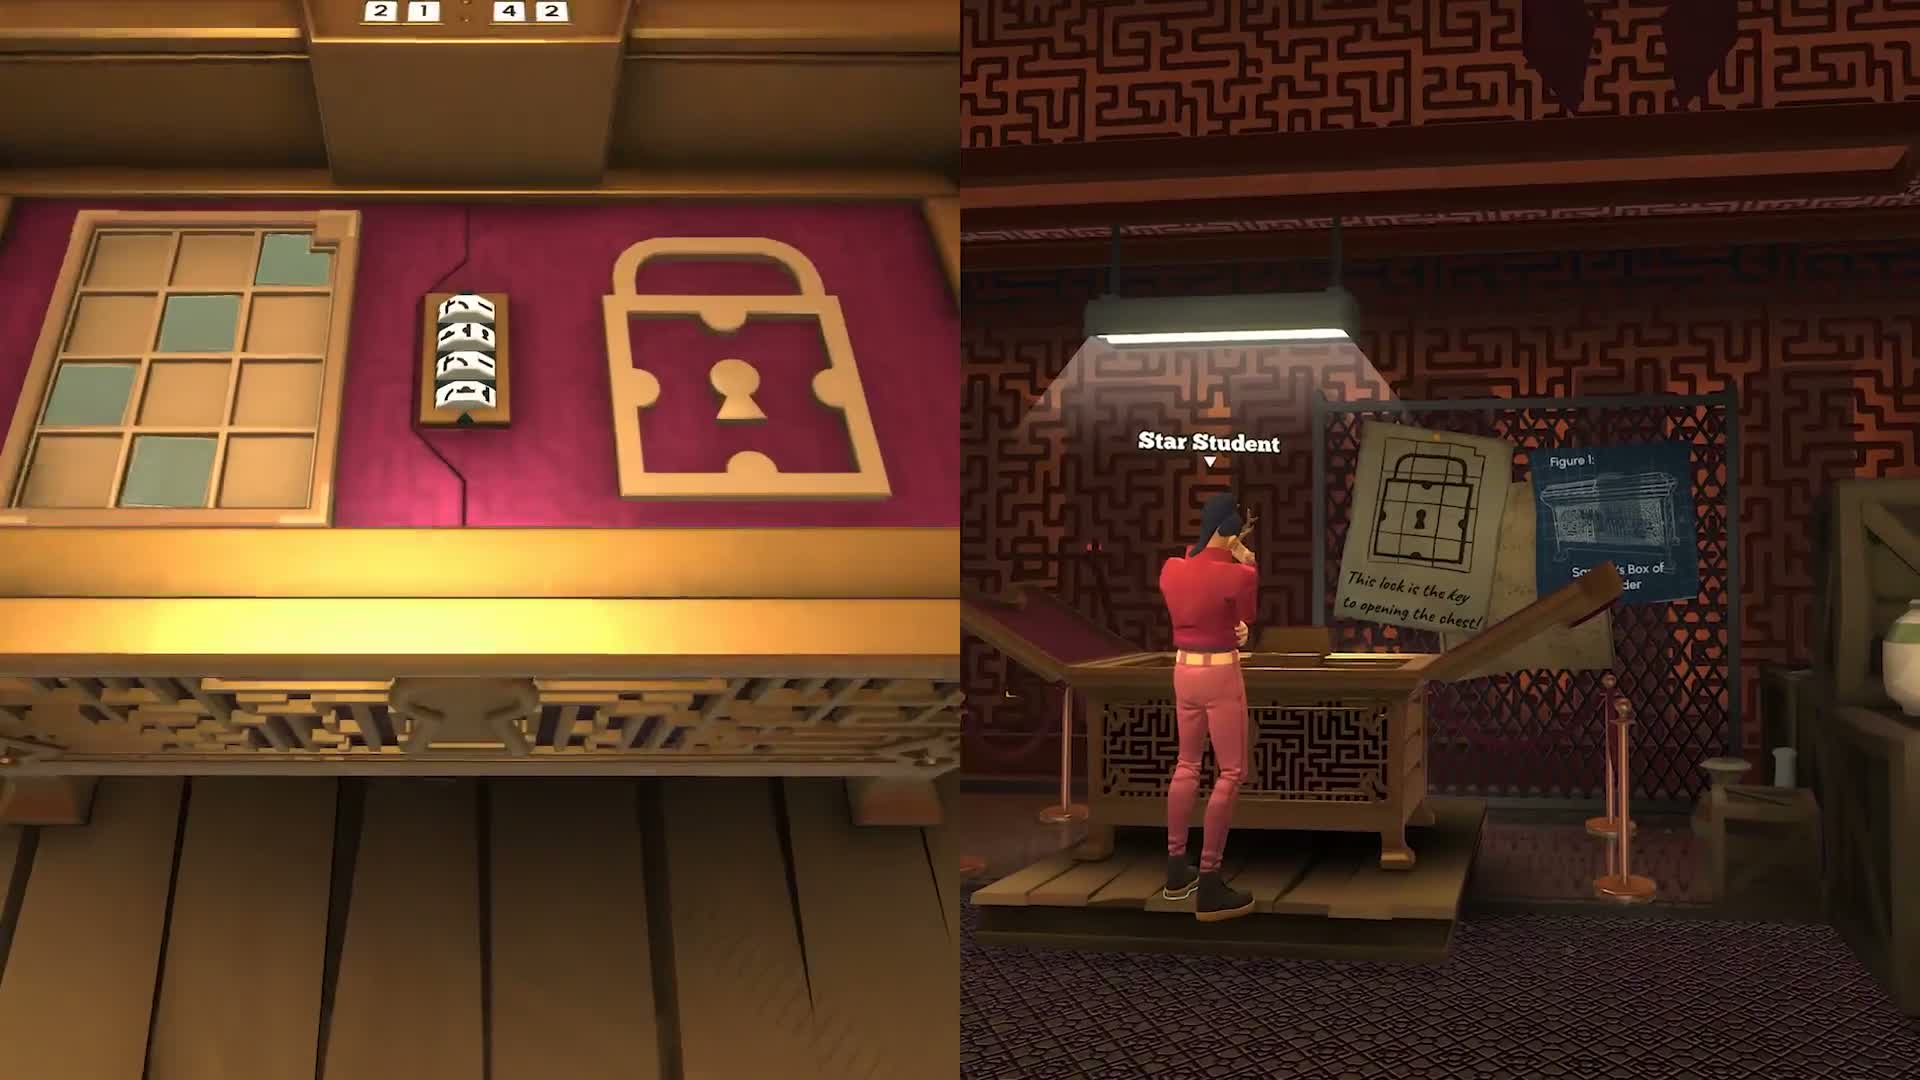
Clown Puzzle
Solve Escape Academy 2: Back 2 School's Send in the Clues task with the balloon-part order, color-chart reasoning and correct SMILE word-lock answer.
Read guide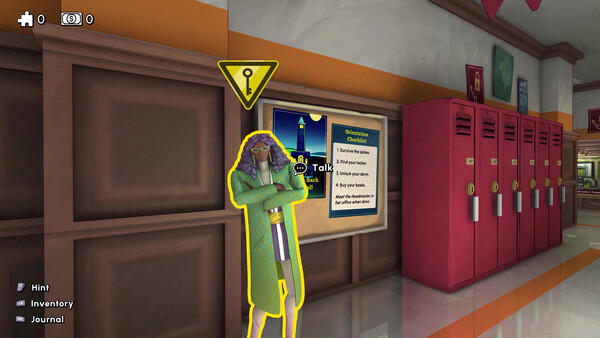
Release Timing
Check Escape Academy 2: Back 2 School's November 5, 2026 launch announcements by platform, plus the distinction between its demo and full release.
Read guide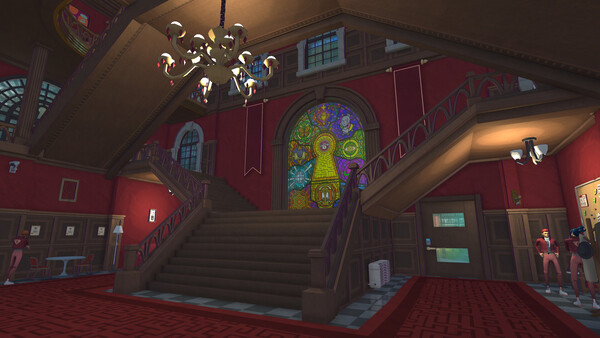
Platforms and Stores
Find Escape Academy 2: Back 2 School platforms, dated prices and Game Pass details, with native-console support kept separate from cloud-streaming access.
Read guide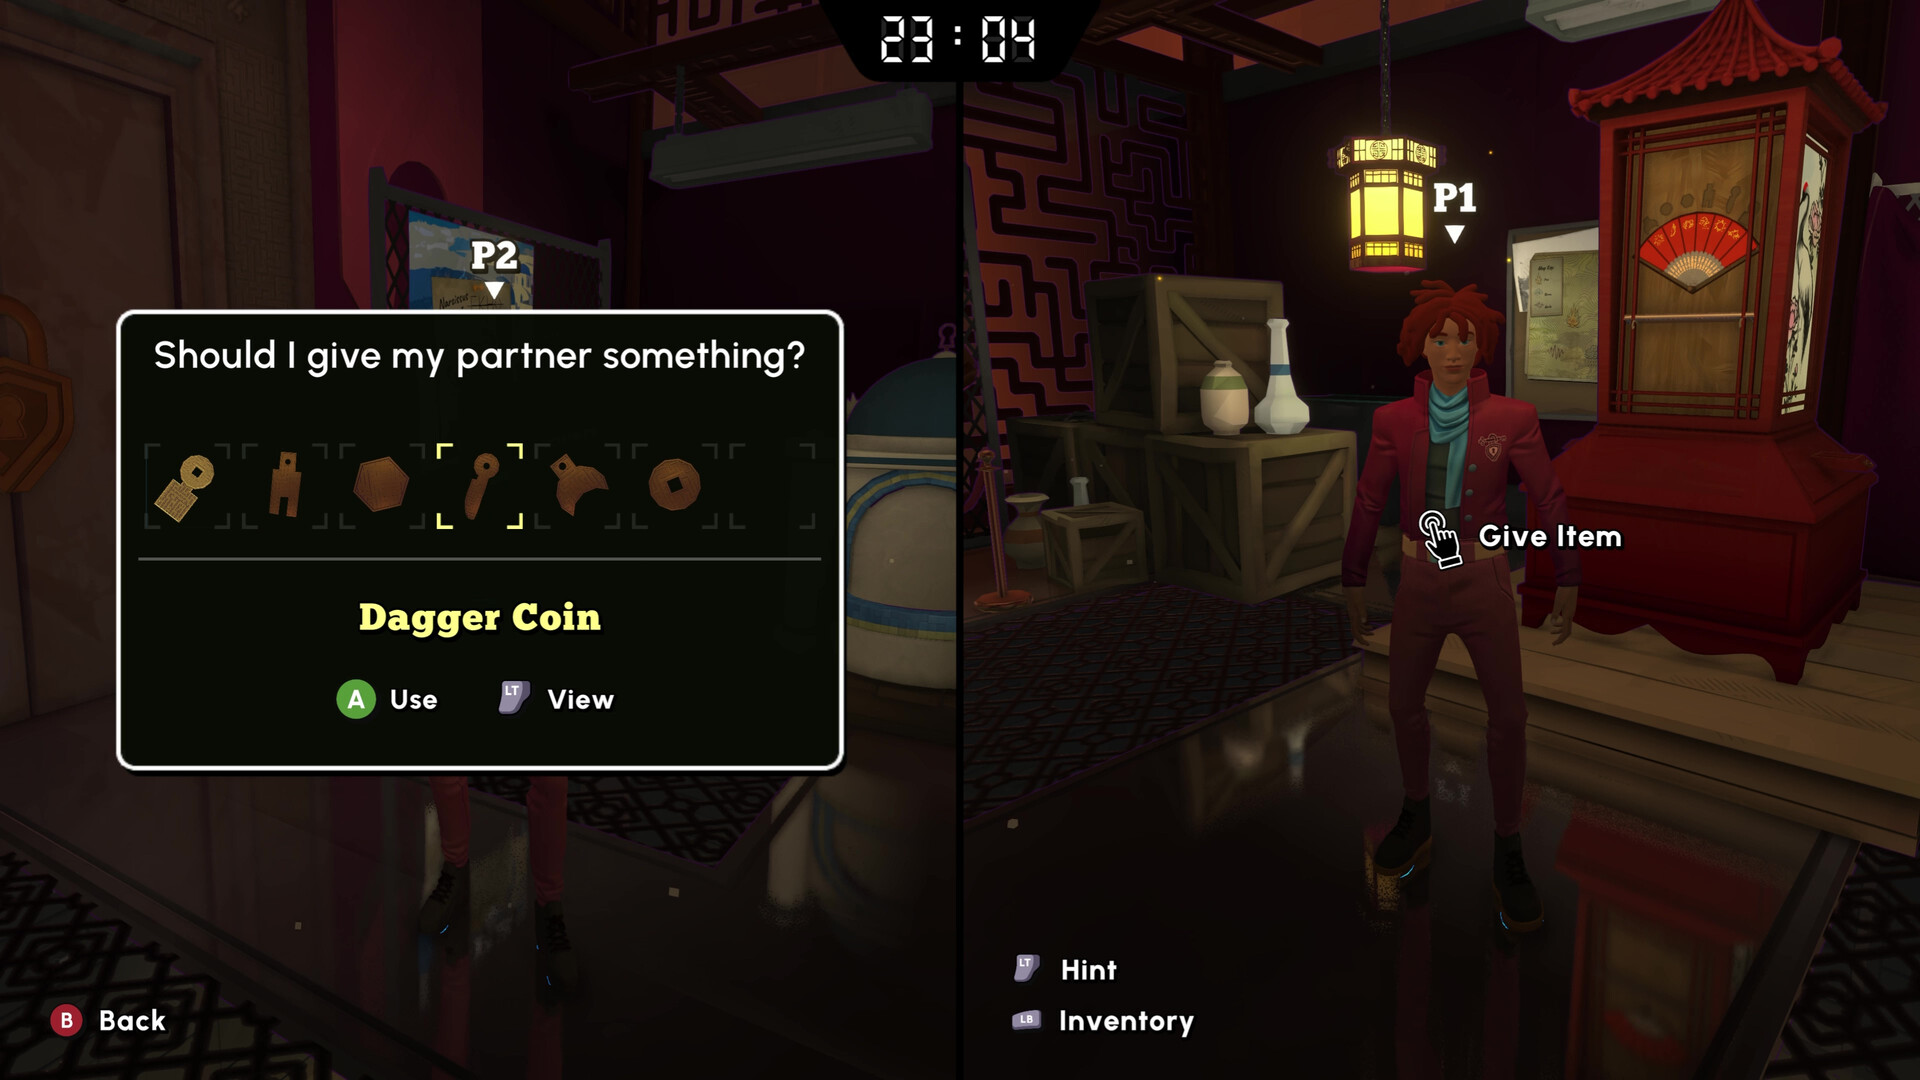
Co-op and Crossplay
Compare Escape Academy 2: Back 2 School solo, two-player online and couch co-op, optional No-Timer Mode and the crossplay details still unverified.
Read guide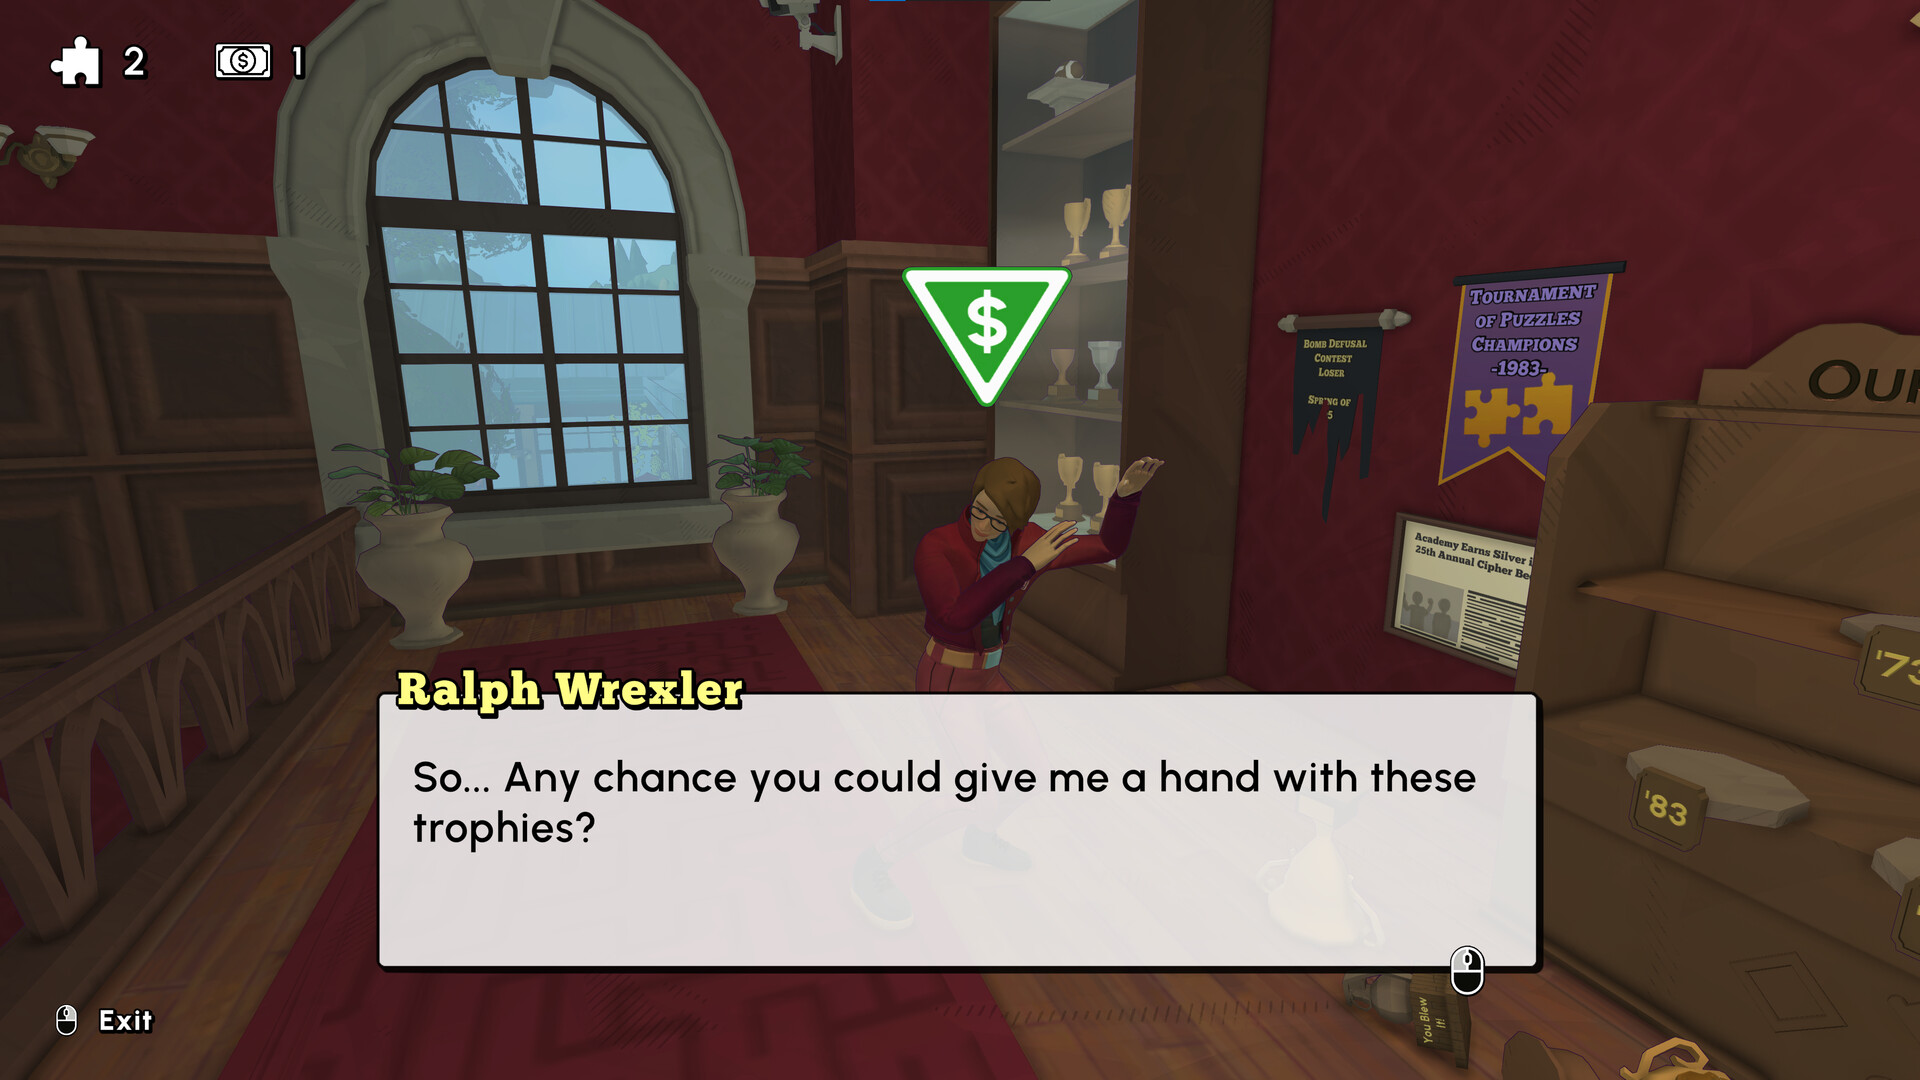
Reviews
Assess Escape Academy 2: Back 2 School through attributed puzzle and co-op reviews, with clear limits on prerelease performance reports and verdicts.
Read guide