
Escape Academy 2: Back 2 School — Opening Walkthrough
Follow Escape Academy 2: Back 2 School through the classroom and orientation, then find focused book, rooftop and tower help without later spoilers.
Quick answer
In the classroom, collect the projector stills from the PATH backpack, the poster-key chest and the phone reached through the schedule puzzle. Match the founders to leave, then complete your locker, dorm and bookstore orientation before answering the headmaster's office phone and heading to the rooftop.
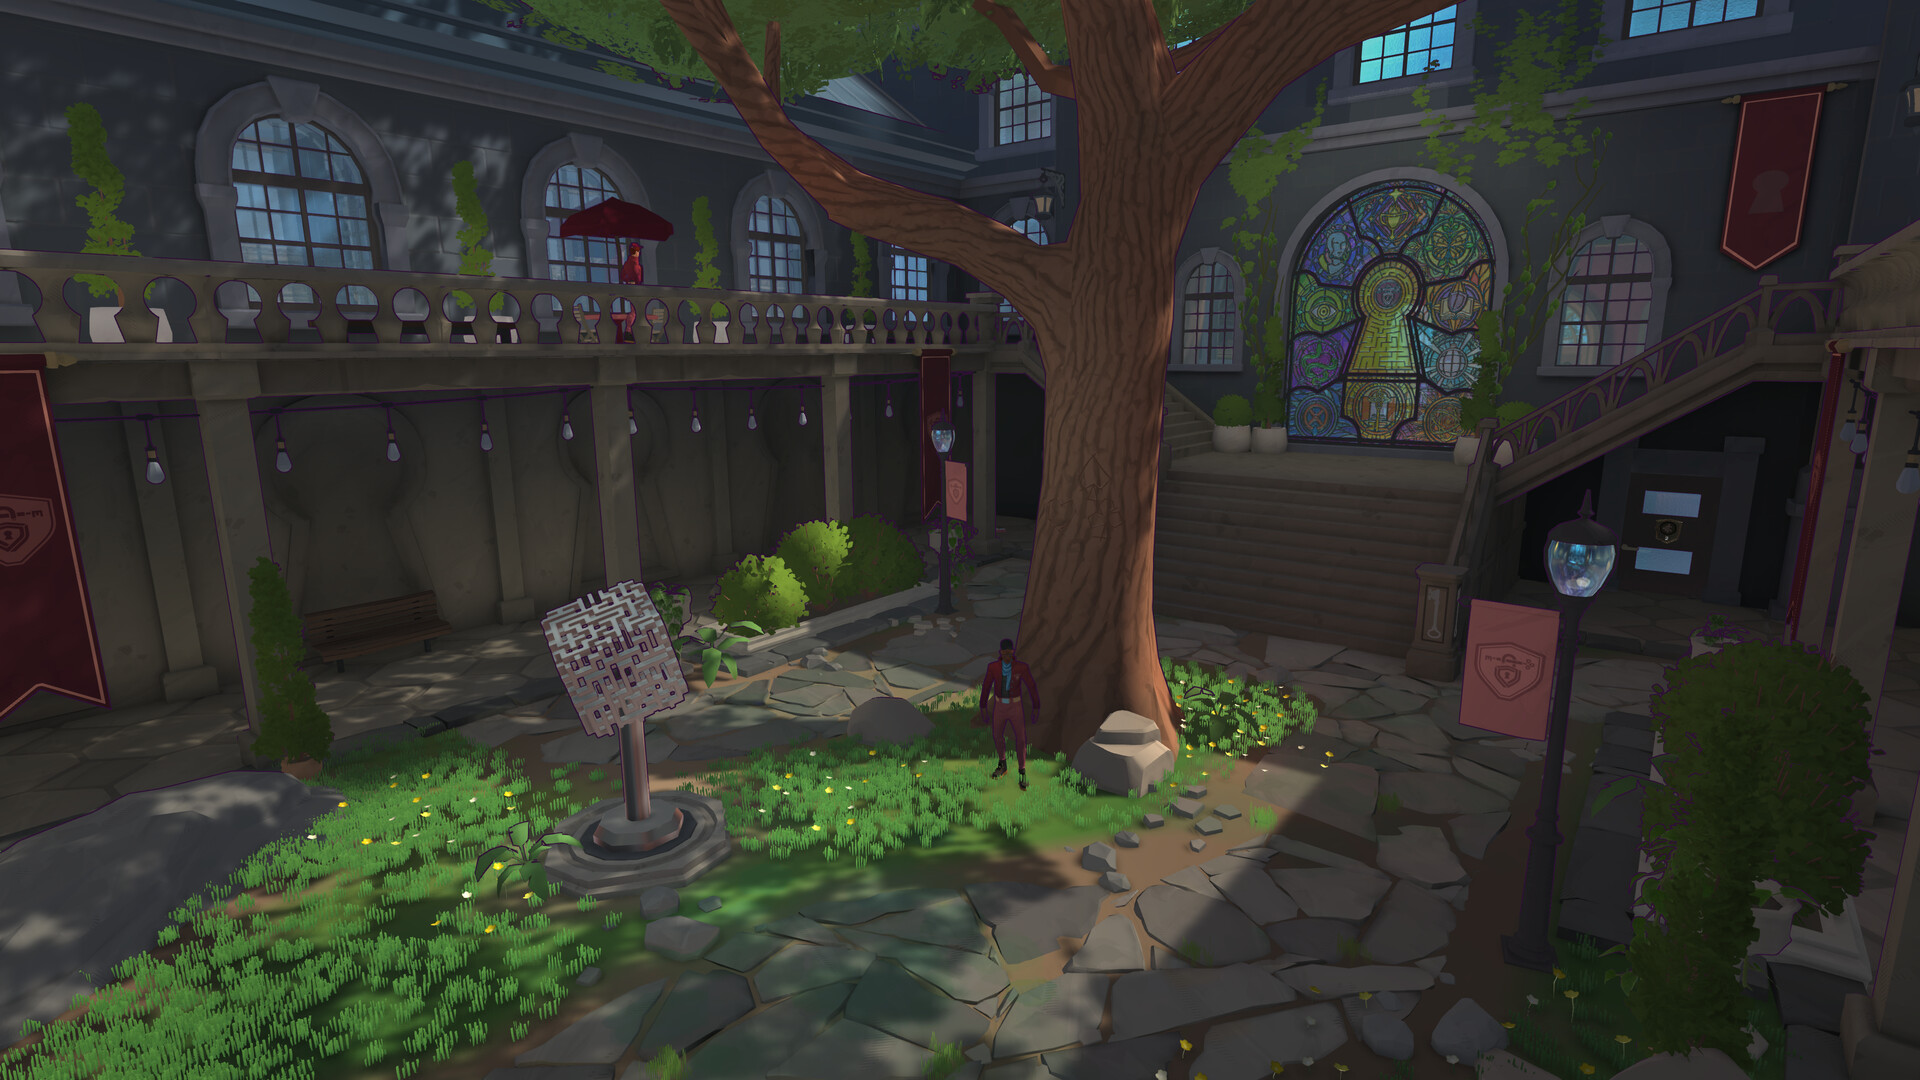
Begin with the classroom escape
This opening walkthrough starts in A Clued Awakening and continues through orientation to the rooftop challenge. Later campaign chapters are outside its scope. The instructions describe the documented English-interface route, not a firsthand playthrough.
Open the backpack with PATH
- Inspect the backpack clue at the back of the classroom: start at X2 Y2.
- Follow the desks in this order: X2 Y2 → X3 Y2 → X3 Y4 → X1 Y4.
- Read their letters as P → A → T → H.
- Enter PATH on the backpack and collect the projector still.
The movement clues explain the route: X+1, then Y+2, then X-2. Both GameSpew's walkthrough and Insider Gaming's classroom guide document this solution.
Solve the schedule and phone sequence
Arrange the noticeboard activities chronologically, rather than following their physical positions. Press the matching keypad symbols in this order:
| Notice time | Symbol |
|---|---|
| 8am | Coffee cup |
| 11am | Musical notes |
| 1pm | Jigsaw piece |
| 3pm | Hammer, board and nails |
| 9pm | Eye |
Look through the newly accessible eyehole and read 772. Dial 772 on the classroom phone, confirm with the tick button, and collect the revealed projector still. The classroom guide connects the schedule, eyehole and phone into this sequence.
Take the poster key and identify the founders
Inspect the Examine Your Surroundings Closely poster beside the projector screen. Pick up its key, use it on the locked chest at the back of the classroom, and collect the remaining still. Place the stills on the projector and compare the faces with the founders portrait. Classroom key and chest instructions.
Match each projected face and name to its playing-card symbol in the founders portrait. Enter the matching names against the symbols on the exit device, select Unlock, and leave. Read the names from the projector rather than relying on a video's spoken spelling. Both Insider Gaming and GameSpew describe this matching method.
Complete the orientation checkpoints
Find your own locker
Speak to Headmaster Solange to receive the locker key and orientation tasks. Find your portrait on the corridor portrait wall, read its student number, and open the matching locker with the key. Use your own portrait number rather than copying another player's example. The written walkthrough explicitly bases the locker choice on the player's portrait.
Open the dorm corridor
Go through to the lobby and upstairs to the dormitory lock. Its symbol order is spade → heart → club. Count the symbols on the founders portraits: three spades, four hearts and six clubs give 346. Dormitory clue and code.
Enter 346, then find the dorm matching your student number. The corridor code is corroborated by the launch recording at 34:00–34:46. The fixed corridor code and your own room number serve different purposes.
Buy the books, then visit the office
The bookstore is beyond the courtyard on the first floor. Better Book It involves three books behind locked displays; use the book puzzle guide for their individual solutions and purchase steps. The documented budget is nine Escape Bucks in total, with three available in the locker and additional funds obtainable through pickups or extra-credit tasks. Bookstore route and locker funds and orientation budget.
After buying the books, go to the third-floor headmaster's office and answer the telephone. The call directs you to the rooftop. Both GameSpew and ScreenHype document that transition.
Continue toward the rooftop challenge
Leave the office for the stairwell, inspect the clues on its different levels, and return to the locked rooftop door. Use the rooftop guide for the word-lock reasoning. After opening it, climb to the roof and interact with the door at the top to continue toward That Rings a Bell. This transition follows the opening walkthrough.
Continue with the tower mechanism guide for the next room's step-by-step instructions and source-specific version notes.
Opening questions
Where do the musical notes belong?
If you mean the classroom symbol keypad, musical notes are the second input, representing the 11am karaoke notice. Use the chronological sequence above rather than treating that symbol as a separate musical-performance puzzle. See the classroom solution.
Must I use another player's student number?
No: identify your own portrait and use its number for the locker and dorm. The shared dorm-corridor code does not replace that personal room identification. GameSpew's orientation instructions distinguish the two.
Can I approach the puzzles without a timer?
The game offers optional No-Timer Mode, according to its official Steam description. Consider that option if you prefer less timer pressure. No particular settings-menu path is assumed here.
Sources and verification
- Escape Academy 2: Back 2 School · store.steampowered.com · Checked 2026-11-06
- Escape Academy 2: Back 2 School · www.gamespew.com · Checked 2026-11-06
- Escape Academy 2: Back 2 School · www.youtube.com · Checked 2026-11-06
- Escape Academy 2: Back 2 School · www.youtube.com · Checked 2026-11-06
- Escape Academy 2: Back 2 School · www.thegamer.com · Checked 2026-11-06
- Escape Academy 2: Back 2 School · www.youtube.com · Checked 2026-11-06
- Escape Academy 2: Back 2 School · insider-gaming.com · Checked 2026-11-06
- Escape Academy 2: Back 2 School · www.screenhype.co.uk · Checked 2026-11-06
- Escape Academy 2: Back 2 School · www.youtube.com · Checked 2026-11-06
- Escape Academy 2: Back 2 School · www.thegamer.com · Checked 2026-11-06
- Escape Academy 2: Back 2 School · insider-gaming.com · Checked 2026-11-06
Continue reading
All guides →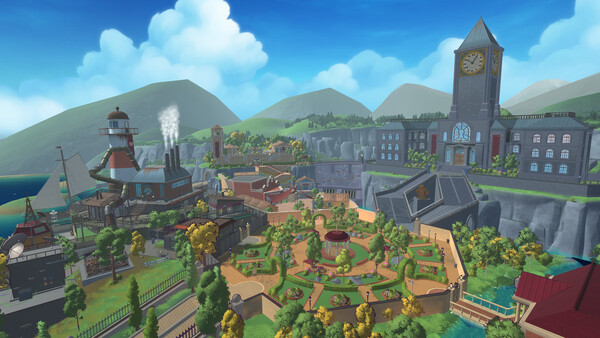
Home
Find Escape Academy 2: Back 2 School opening guides, focused puzzle answers, demo version notes, platform information and co-op help in one place.
Read guide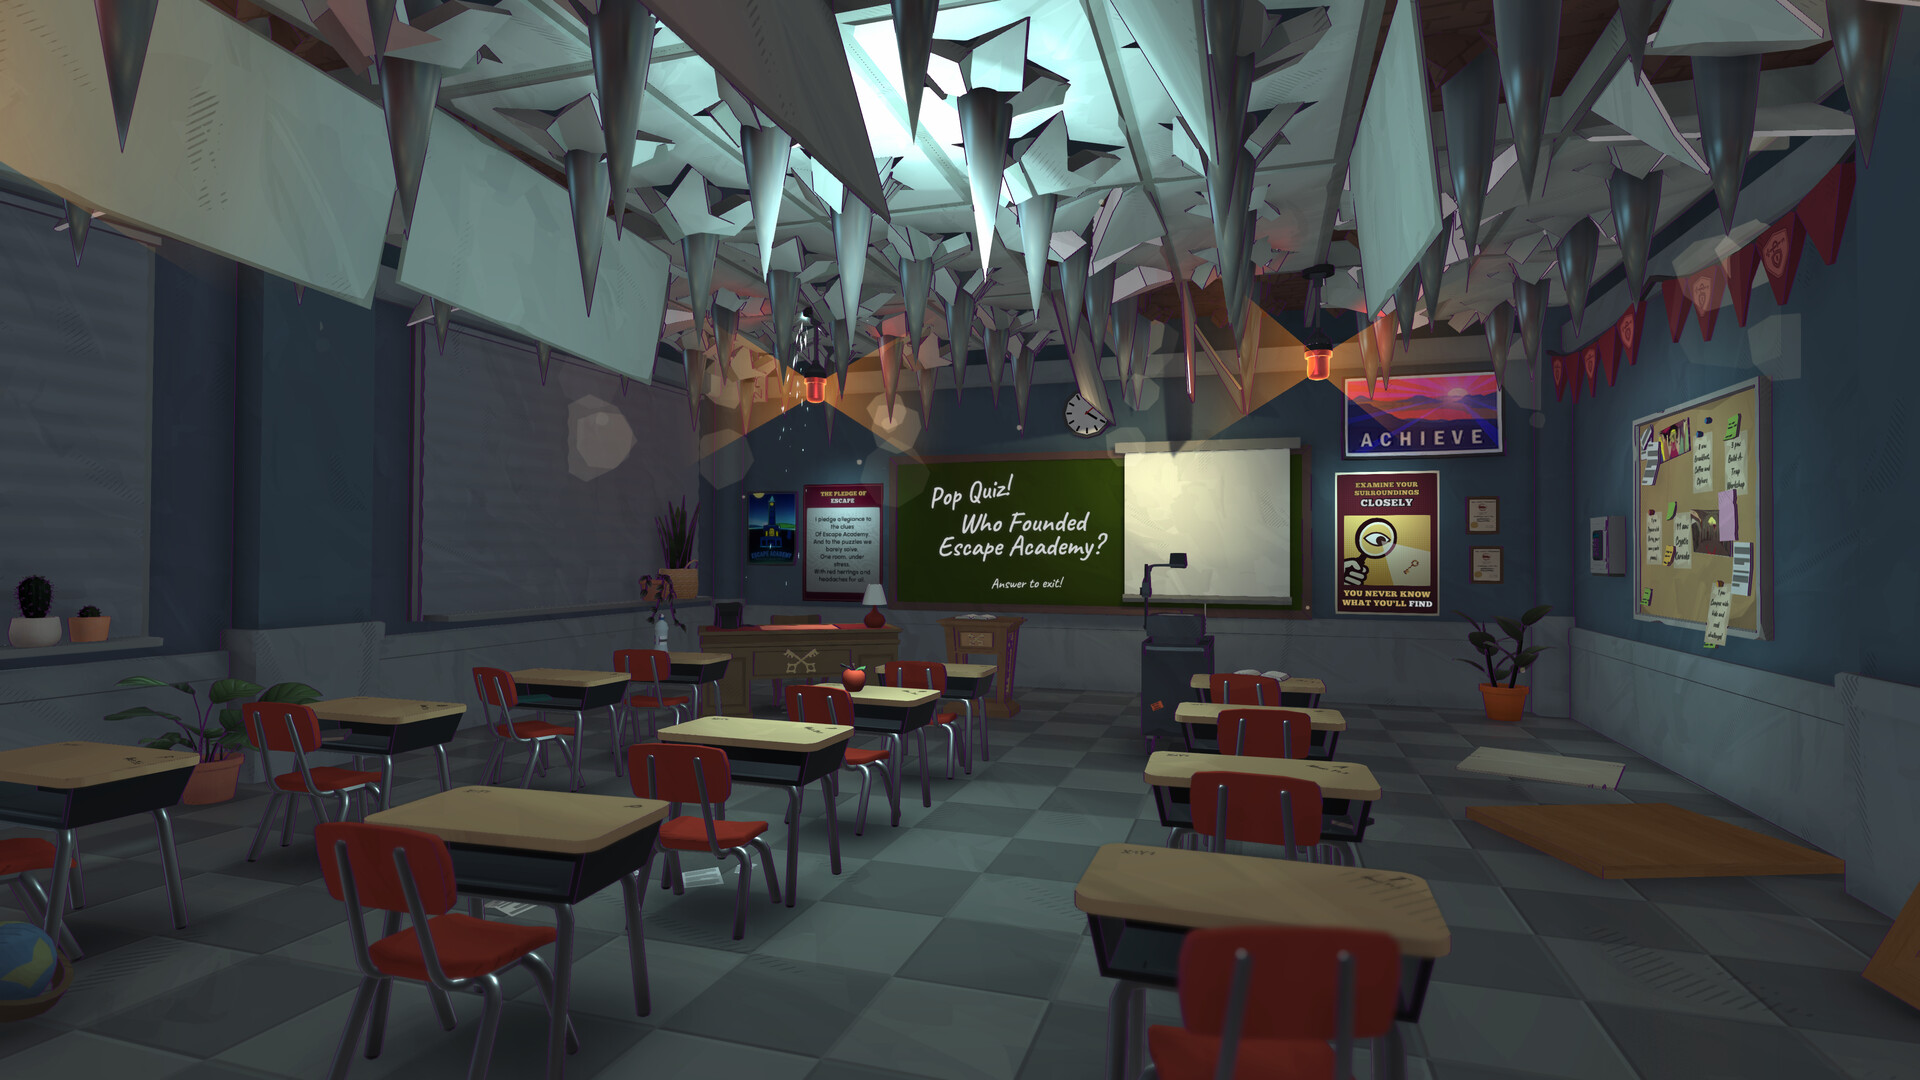
Demo Route
Use Escape Academy 2: Back 2 School demo footage carefully: follow documented opening checkpoints and understand the October update's version limits.
Read guide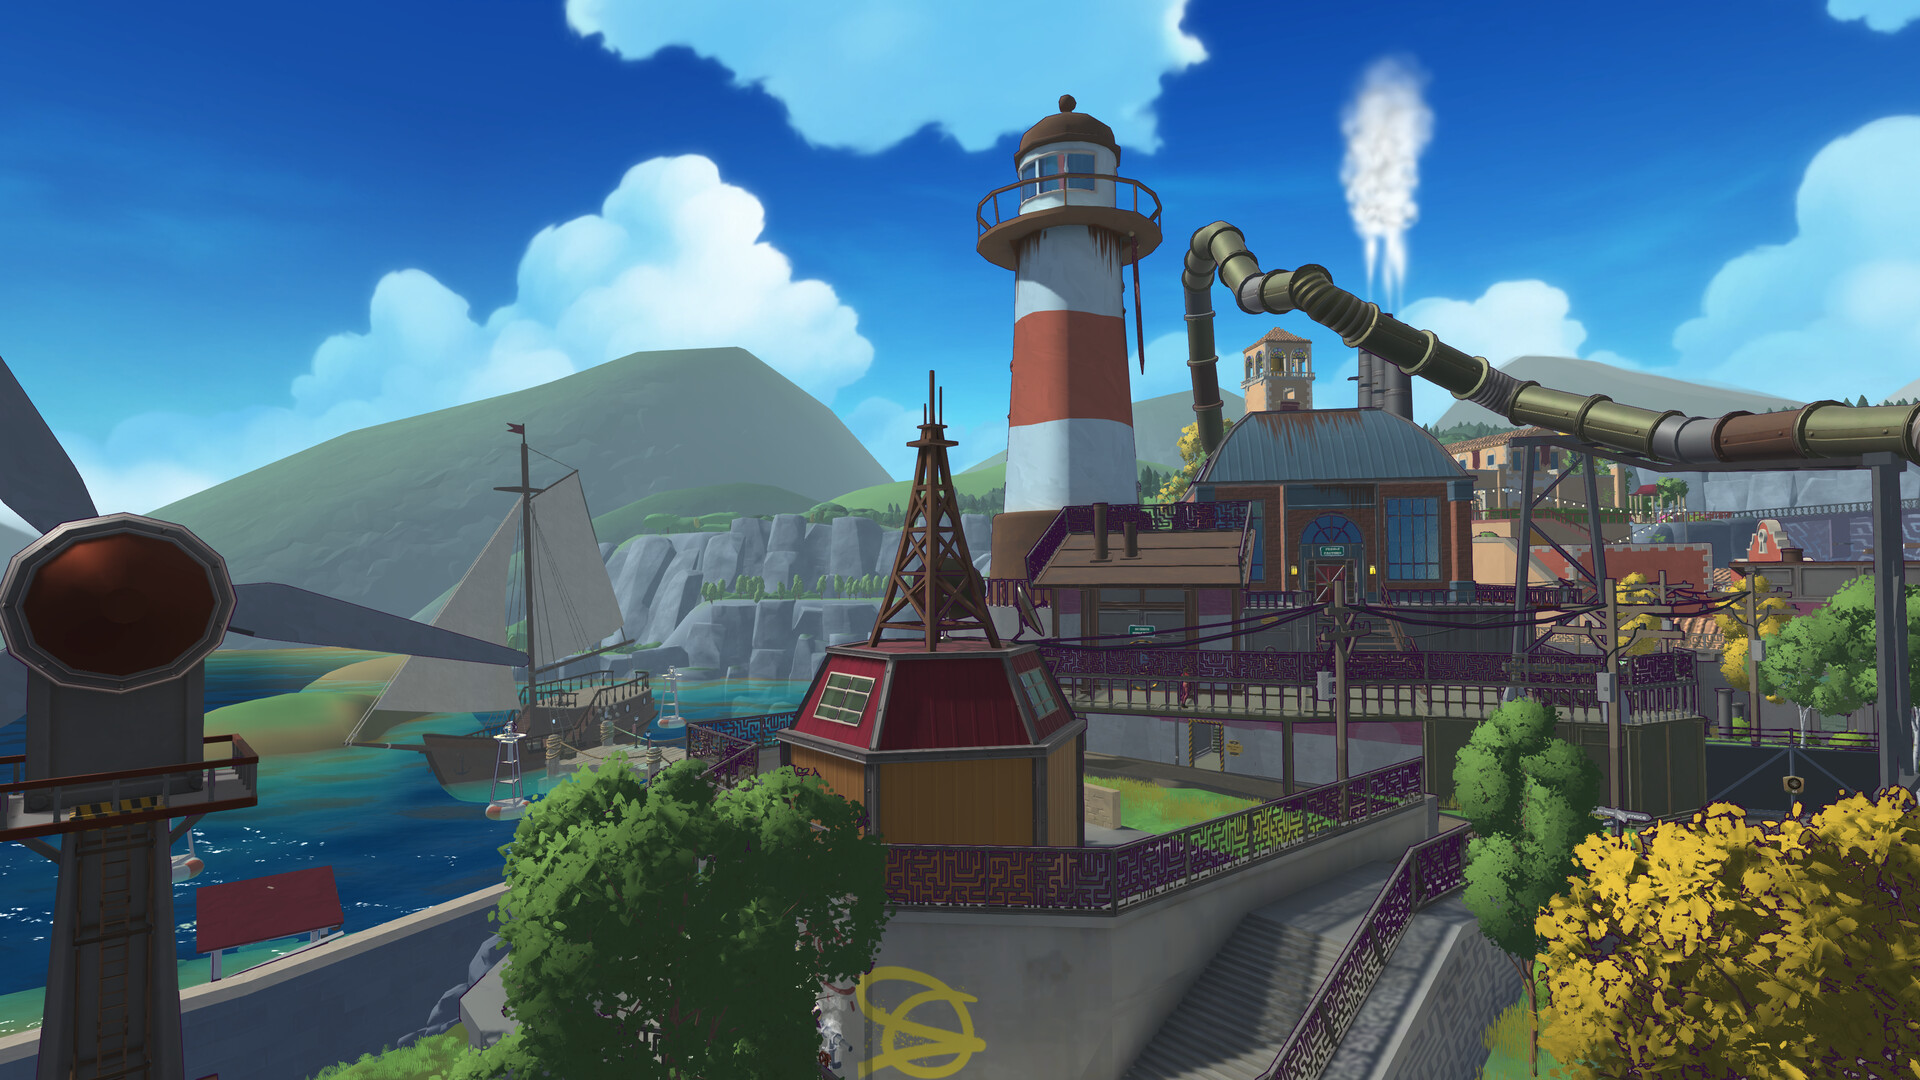
Opening Rooftop
Open Escape Academy 2: Back 2 School's rooftop door with STAY AWAY, understand the stairwell clues and continue toward the That Rings a Bell challenge.
Read guide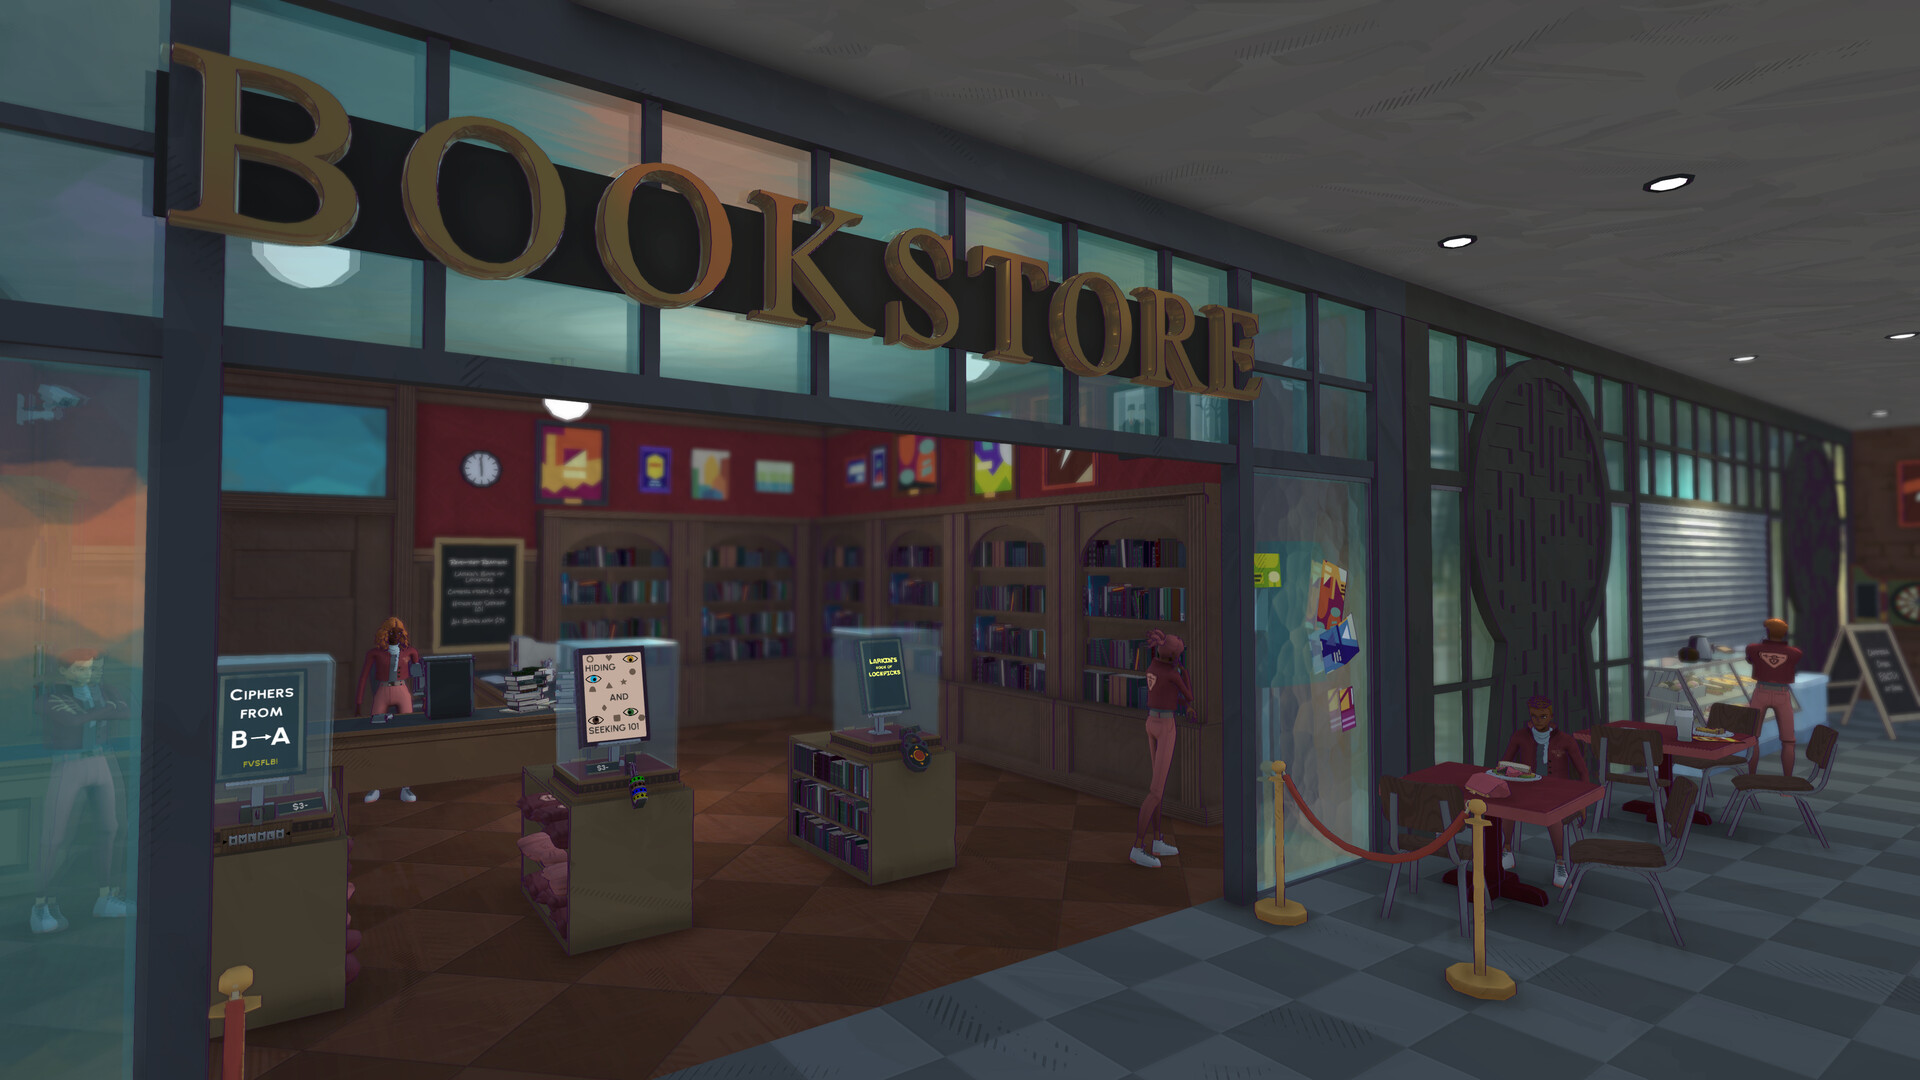
Book Puzzle
Solve Escape Academy 2: Back 2 School's bookstore locks with the EUREKA cipher, eye-color shapes and lockpick arrows, then buy and collect the books.
Read guide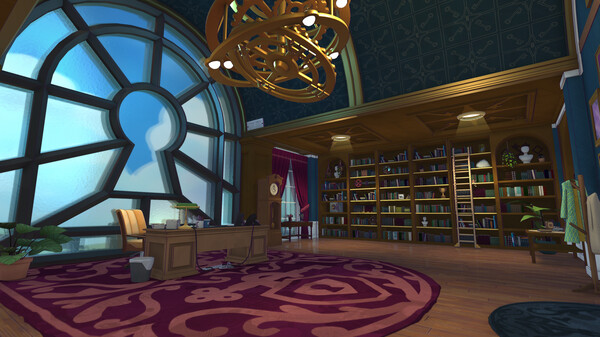
Tower Puzzle
Solve Escape Academy 2: Back 2 School's tower with the rope, gears, moon codes, seasonal sun-box settings and final bell sequence explained step by step.
Read guide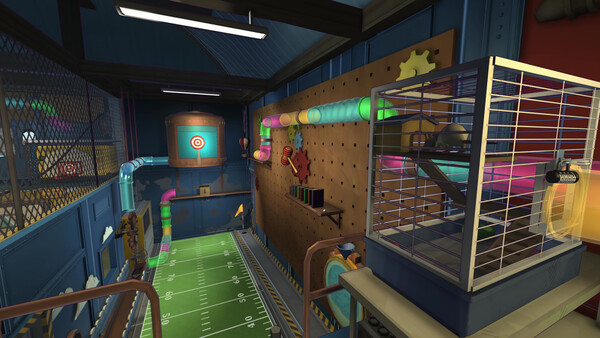
Bird Puzzle
Complete Escape Academy 2: Back 2 School's Nugget task with animal tiles, heat-lamp codes, jazz and the Clue Jay worm-box solution explained by part.
Read guide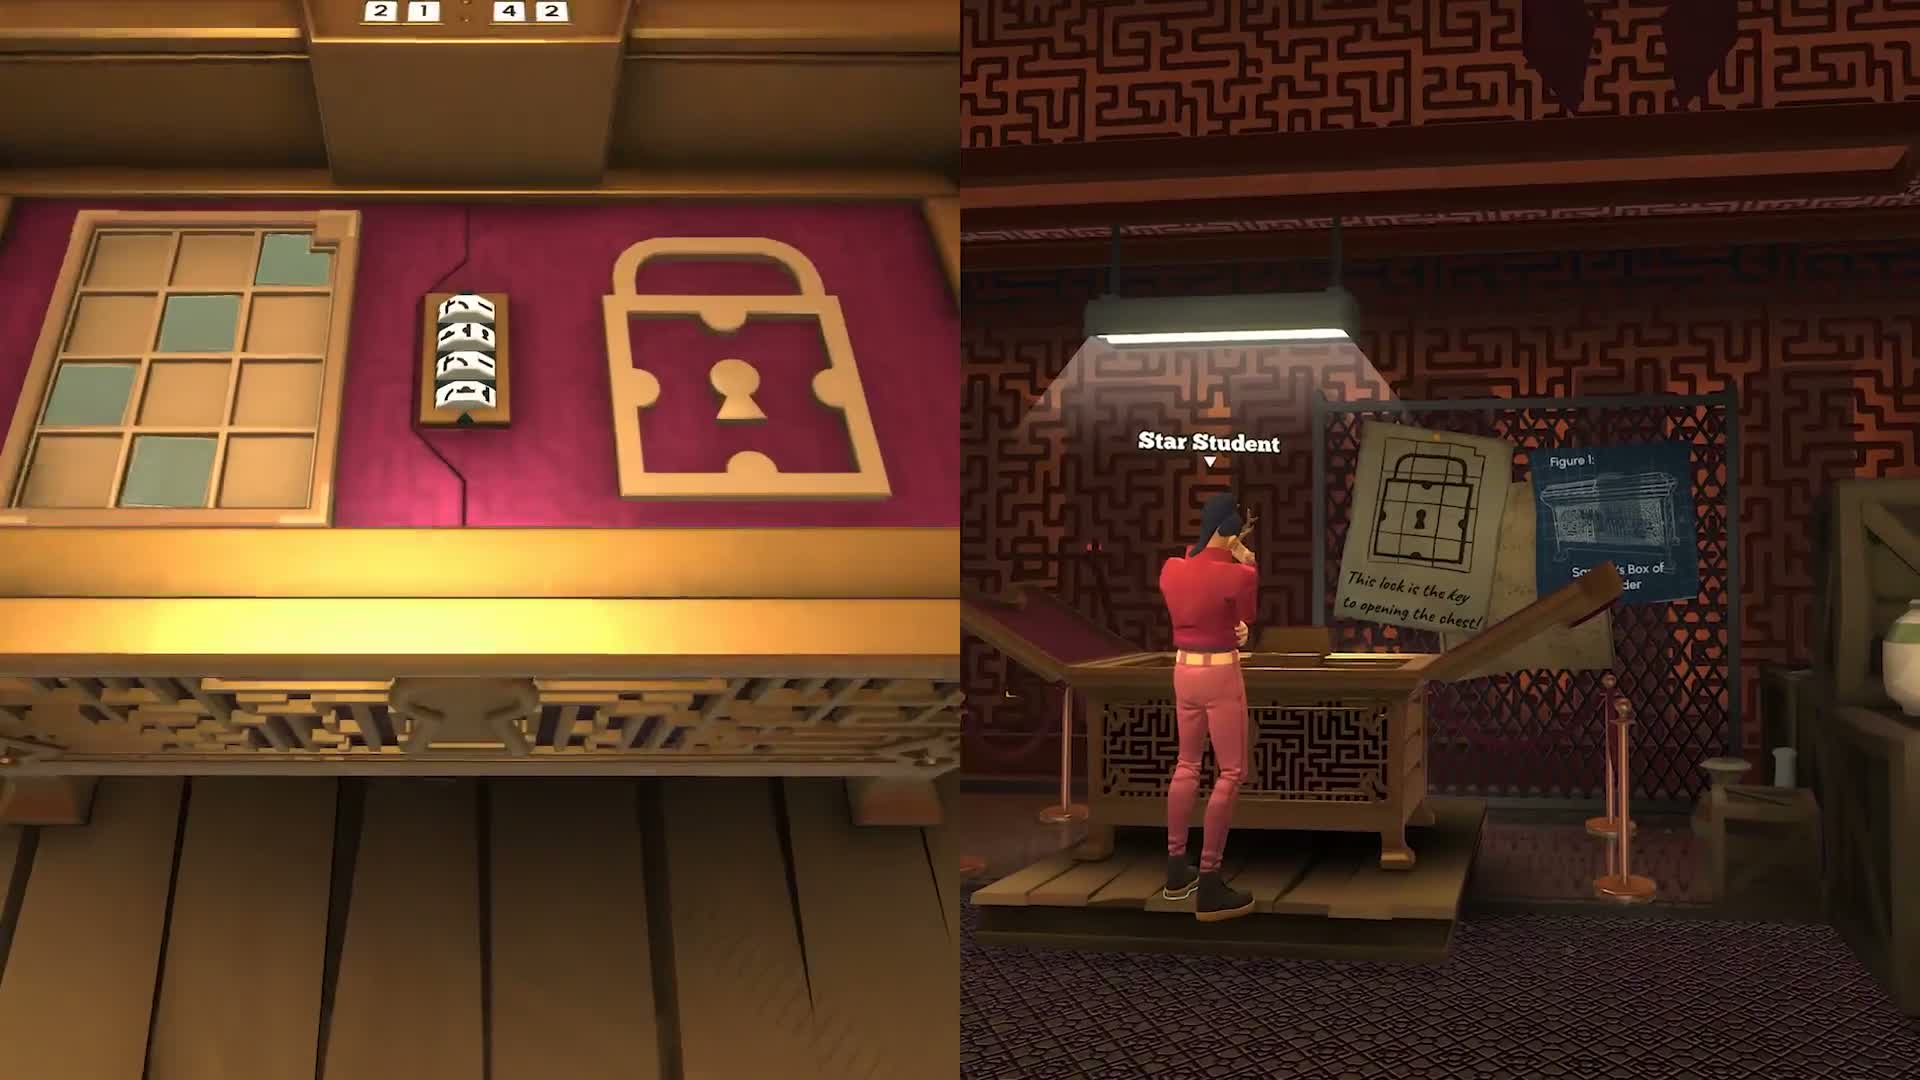
Clown Puzzle
Solve Escape Academy 2: Back 2 School's Send in the Clues task with the balloon-part order, color-chart reasoning and correct SMILE word-lock answer.
Read guide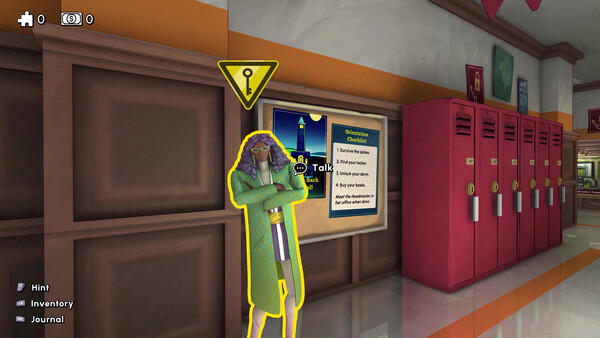
Release Timing
Check Escape Academy 2: Back 2 School's November 5, 2026 launch announcements by platform, plus the distinction between its demo and full release.
Read guide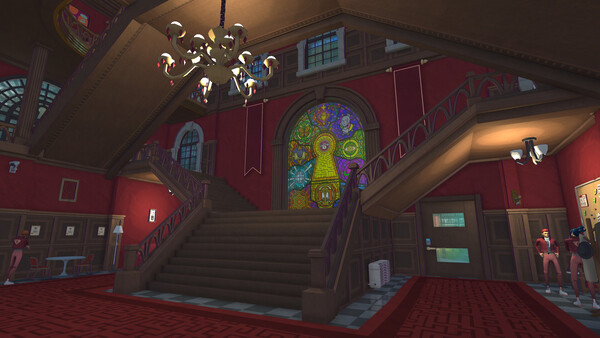
Platforms and Stores
Find Escape Academy 2: Back 2 School platforms, dated prices and Game Pass details, with native-console support kept separate from cloud-streaming access.
Read guide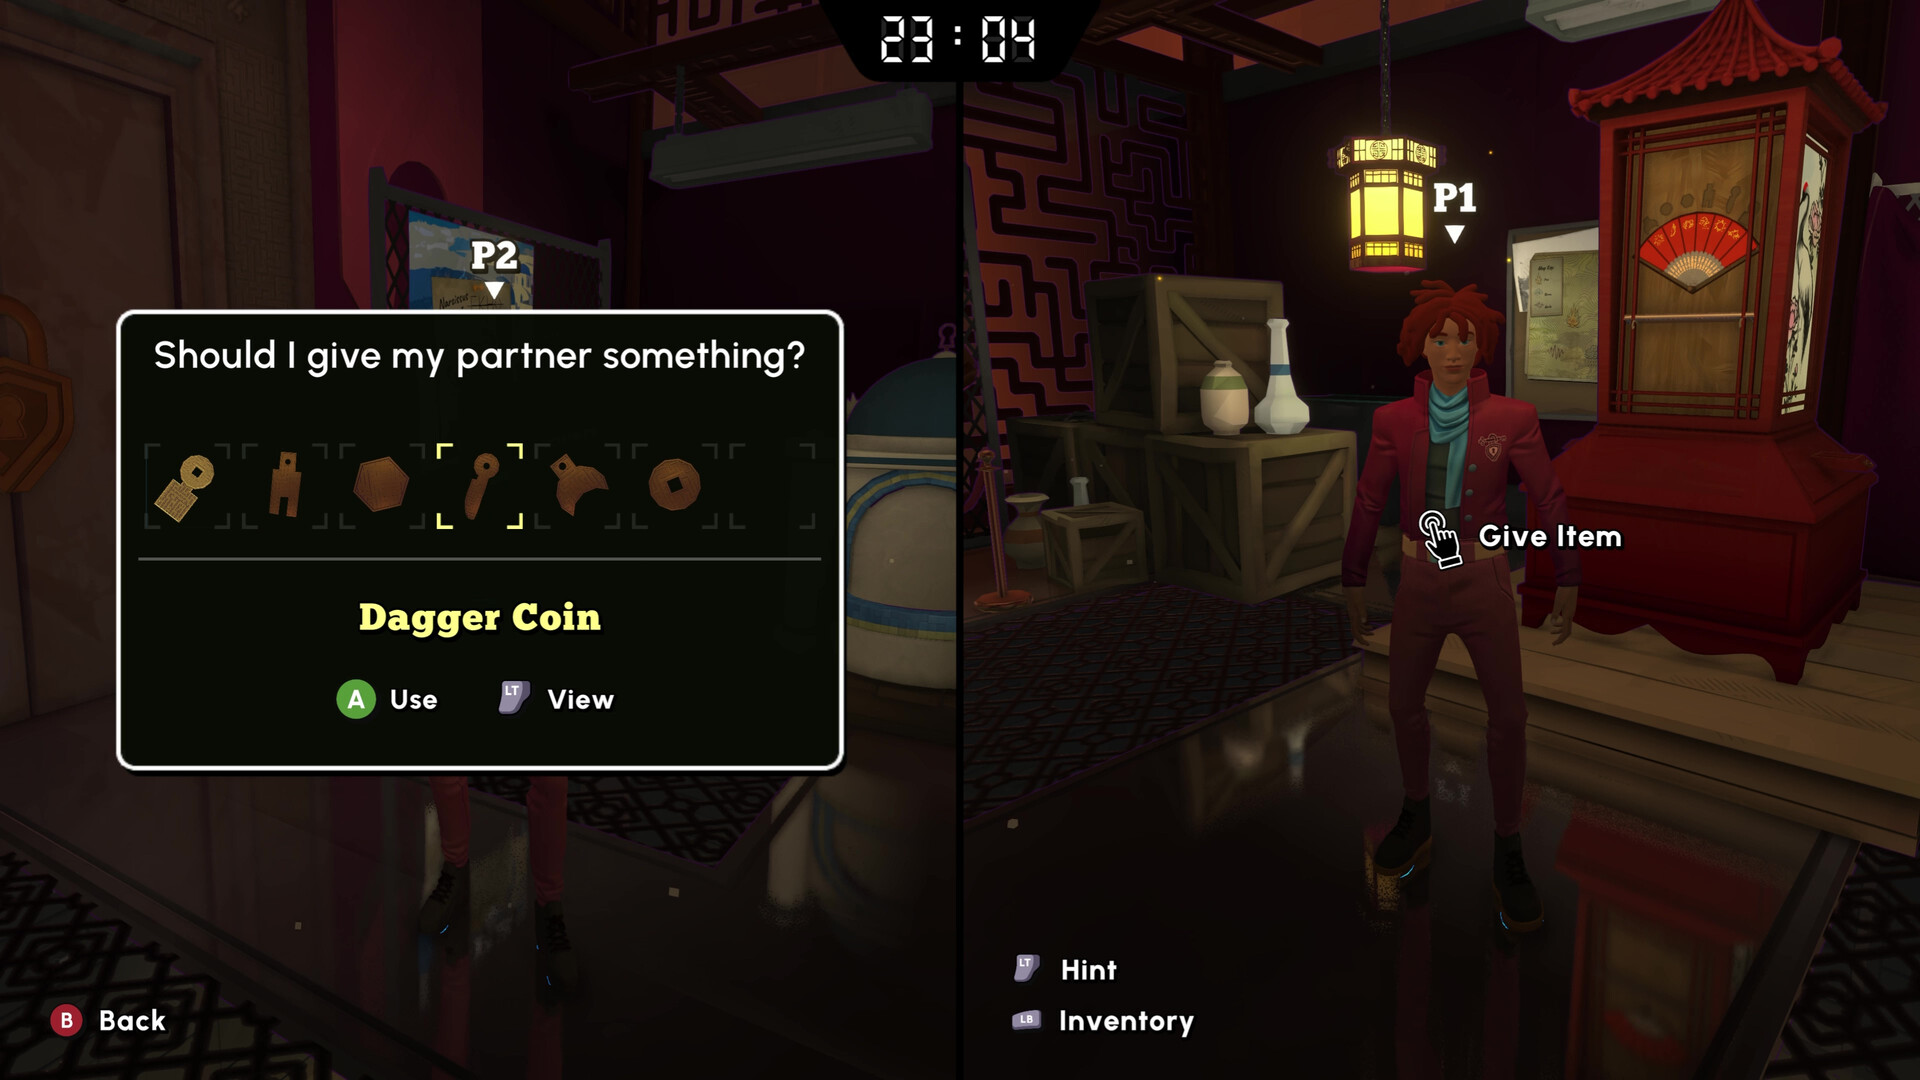
Co-op and Crossplay
Compare Escape Academy 2: Back 2 School solo, two-player online and couch co-op, optional No-Timer Mode and the crossplay details still unverified.
Read guide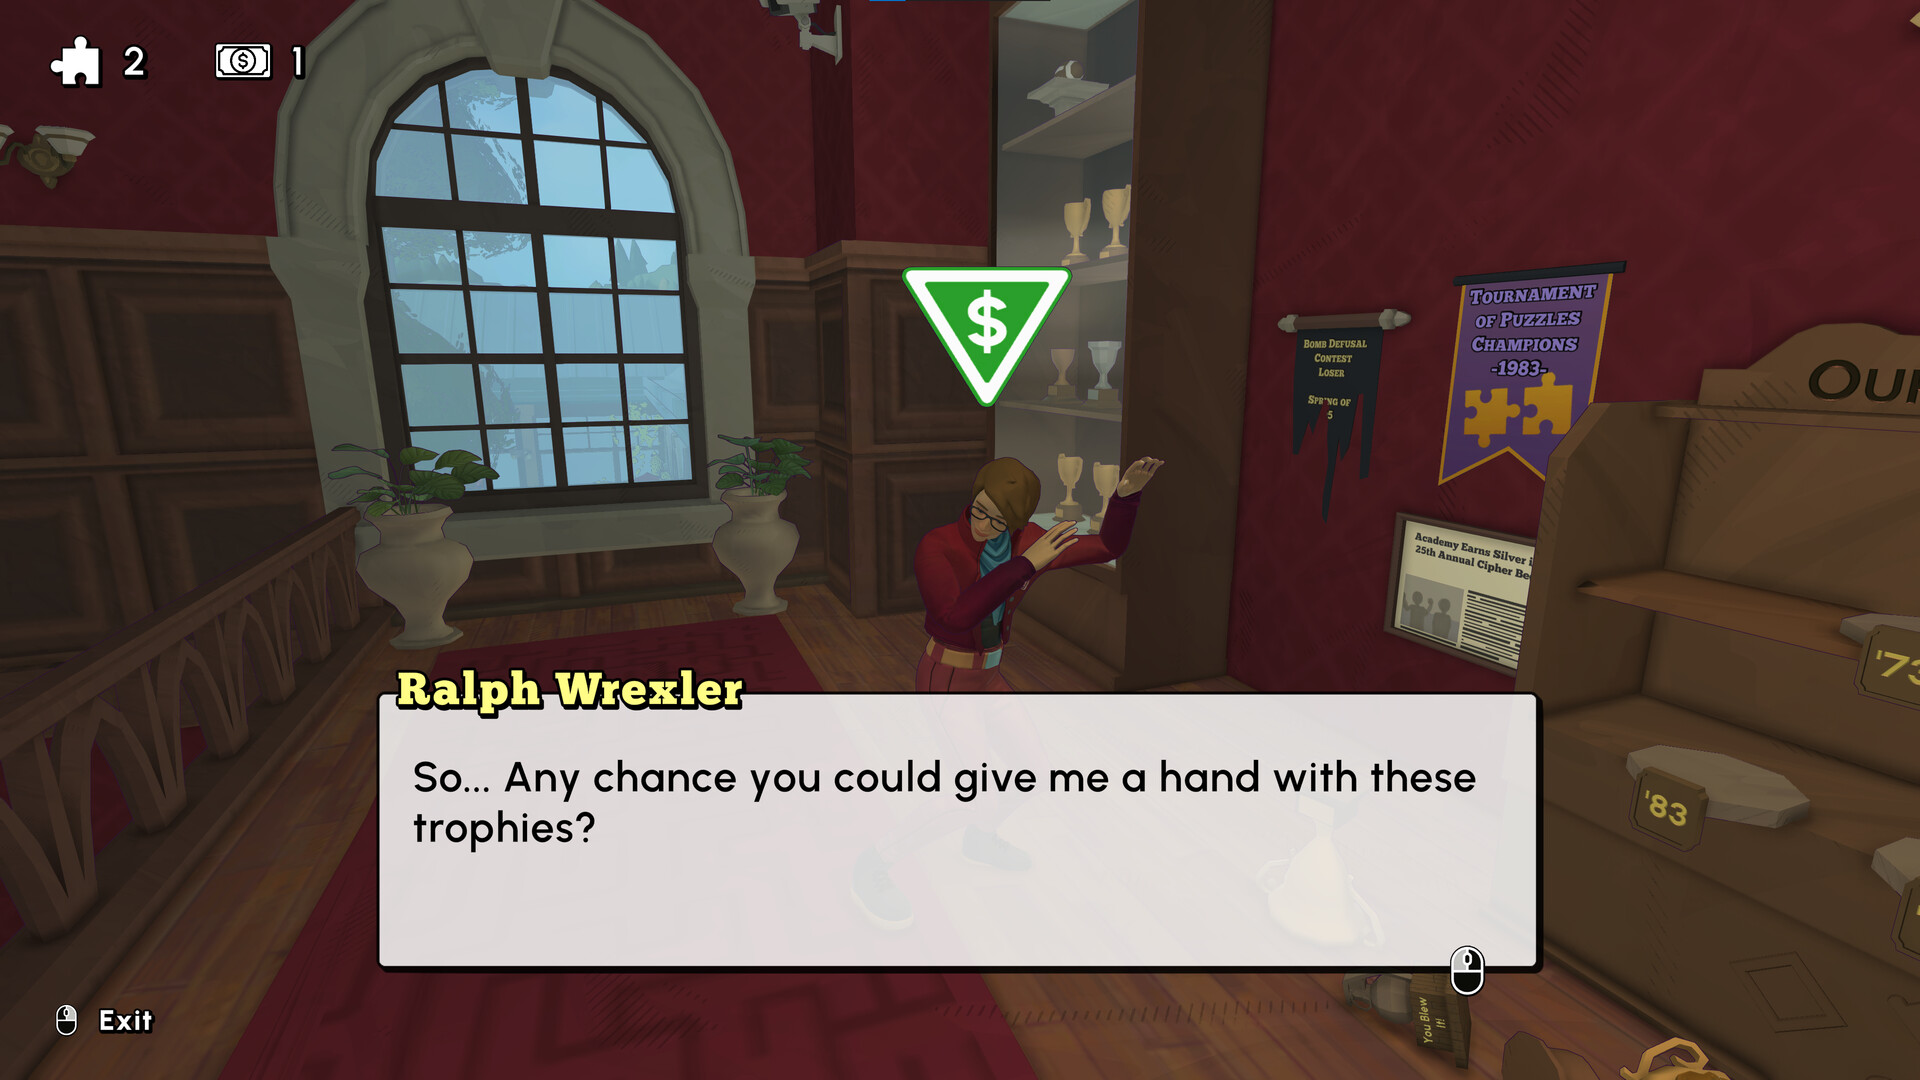
Reviews
Assess Escape Academy 2: Back 2 School through attributed puzzle and co-op reviews, with clear limits on prerelease performance reports and verdicts.
Read guide